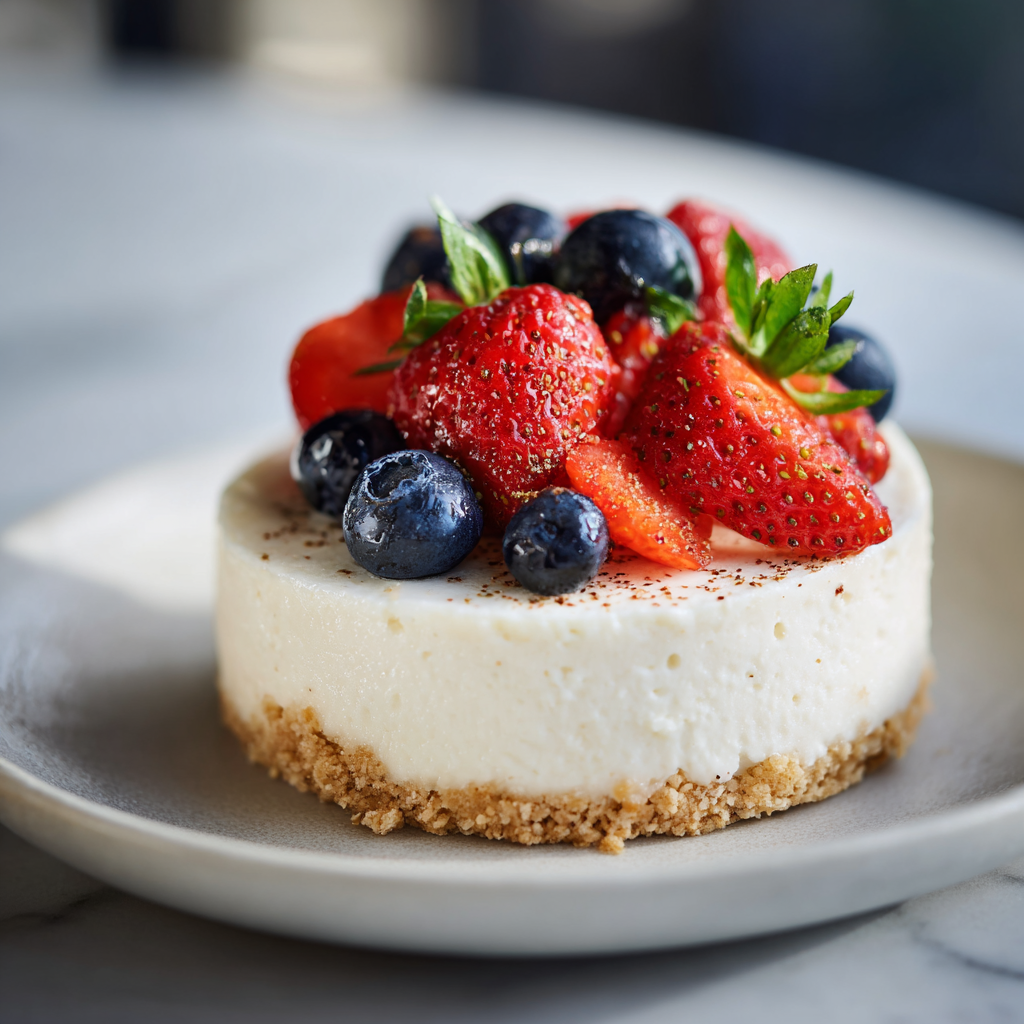
There’s something magical about a creamy No Bake Cheesecake sitting in the fridge, waiting to become the sweetest part of the day. I still remember the first time I made this recipe during a warm summer evening when turning on the oven felt impossible. I wanted something simple, comforting, and beautiful enough to place in the middle of the table while my family gathered around laughing and sharing stories.
Hi👋 I’m MARILYN, a 34-year-old from the United Kingdom. Cooking is my passion, and I love sharing delicious, easy-to-follow recipes. Join me on marilynrecipes.com to explore a world of culinary delights, from comforting classics to innovative creations. Let’s make cooking fun and enjoyable for everyone! Cooking is about more than just food it’s about sharing stories and making memories.
This No Bake Cheesecake quickly became one of my most requested desserts. I make it for birthdays, weekend dinners, holidays, and even quiet evenings when I crave something sweet and creamy. The best thing about this No Bake Cheesecake recipe is how effortlessly it comes together while still tasting luxurious and bakery-worthy.
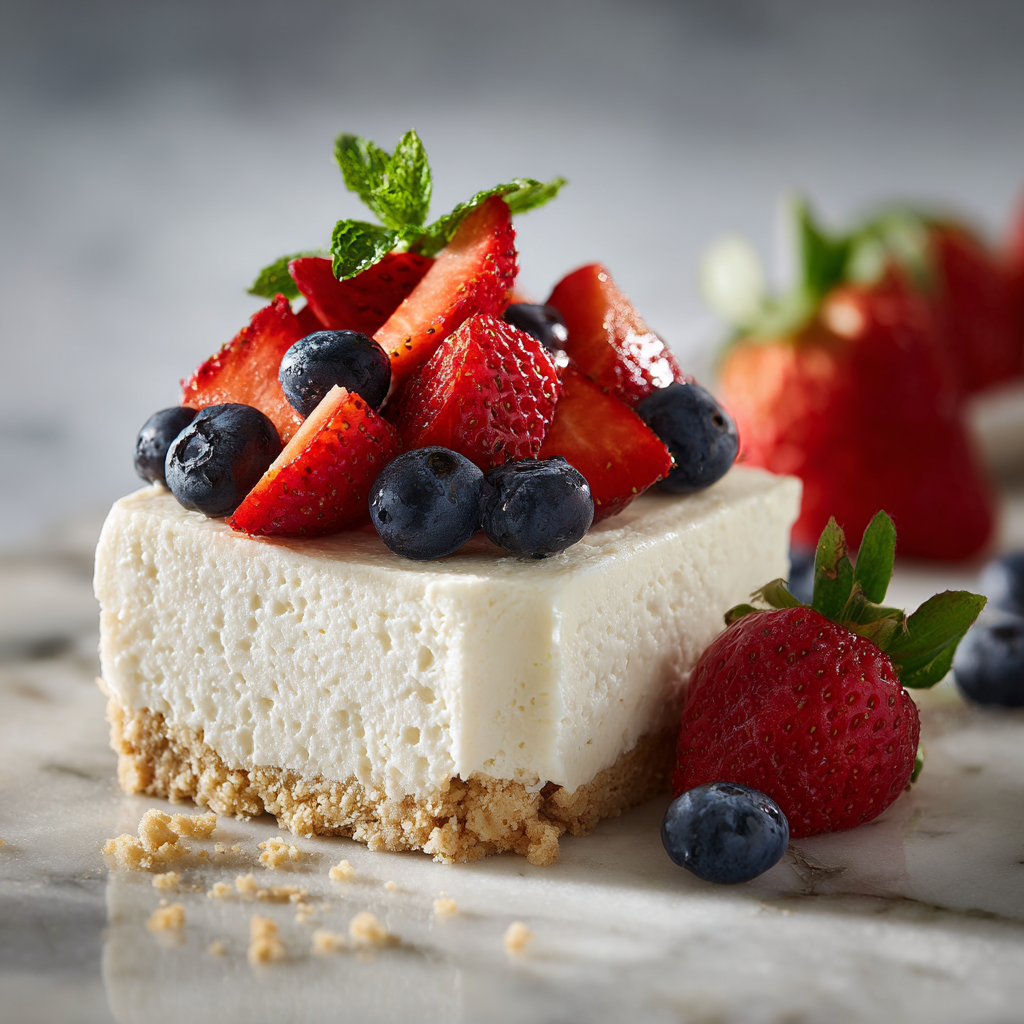
I adore how silky the filling feels against the buttery biscuit crust. Every bite melts softly and leaves behind that perfect balance of sweetness and tanginess. Whenever I serve this No Bake Cheesecake, someone always asks for the recipe before dessert plates even leave the table.
If you love easy desserts that look impressive without requiring complicated baking skills, this recipe belongs in your kitchen forever.
Why I Love Making This Recipe
I love recipes that remove stress from cooking, and this No Bake Cheesecake does exactly that. I don’t need to worry about cracked tops, water baths, or overbaking. I simply mix, chill, and enjoy.
This dessert also saves me during busy weeks because I can prepare it ahead of time. I often make it the night before guests arrive, which gives me more time to focus on family and conversation instead of rushing around the kitchen.
Another reason I treasure this recipe is its versatility. I can top it with strawberries, blueberries, caramel sauce, chocolate shavings, lemon curd, or even crushed cookies. Every version feels special and homemade.
Most importantly, this cheesecake reminds me that simple recipes often create the warmest memories. My kitchen always feels calmer when I prepare desserts like this.
Ingredients & Little Kitchen Secrets
A good No Bake Cheesecake depends on simple ingredients working beautifully together. I always use full-fat ingredients because they create the richest and creamiest texture.
For the Crust
- 2 cups crushed digestive biscuits or graham crackers
- 1/2 cup melted butter
- 2 tablespoons brown sugar
For the Cheesecake Filling
- 24 ounces cream cheese, softened
- 1 cup powdered sugar
- 1 teaspoon vanilla extract
- 1 tablespoon lemon juice
- 1 1/2 cups heavy whipping cream
Optional Toppings
- Fresh strawberries
- Blueberries
- Cherry pie filling
- Chocolate curls
- Crushed cookies
- Caramel drizzle
My Little Kitchen Secrets
I always soften the cream cheese fully before mixing. Cold cream cheese creates lumps, and I want the filling perfectly smooth.
I also whip the cream separately before folding it into the cheesecake mixture. This trick gives the filling its light, airy texture while still keeping it rich and creamy.
When pressing the crust into the pan, I use the bottom of a measuring cup to create an even layer. That simple step makes the cheesecake slice beautifully later.
I chill the cheesecake overnight whenever possible. The texture becomes firmer, creamier, and easier to cut.
How I Make It, Step by Step
Step 1: Prepare the Crust
I begin by crushing the biscuits into fine crumbs. Sometimes I use a food processor, but I also enjoy placing the biscuits into a zip-top bag and crushing them with a rolling pin.
I mix the crumbs with melted butter and brown sugar until the texture resembles wet sand.
Then I press the mixture firmly into the bottom of a springform pan. I make sure the crust feels compact and even.
I place the crust into the refrigerator while preparing the filling.
Step 2: Beat the Cream Cheese
In a large bowl, I beat the softened cream cheese until completely smooth and fluffy.
Then I add the powdered sugar, vanilla extract, and lemon juice. I continue mixing until everything looks creamy and silky.
The lemon juice brightens the flavor beautifully without making the cheesecake taste overly tart.
Step 3: Whip the Cream
In a separate bowl, I whip the heavy cream until stiff peaks form.
This step creates the airy texture that makes No Bake Cheesecake feel so luxurious.
I gently fold the whipped cream into the cream cheese mixture using a spatula. I work slowly to keep the filling light and fluffy.
Step 4: Assemble the Cheesecake
I spread the filling evenly over the chilled crust.
Then I smooth the top carefully with a spatula.
Sometimes I add fruit topping immediately, but I often wait until serving time to keep everything looking fresh and vibrant.
Step 5: Chill Until Firm
I cover the cheesecake and refrigerate it for at least 6 hours.
For the best texture, I chill it overnight.
Waiting feels difficult because the cheesecake already smells incredible, but patience truly makes a difference.
How I Serve It at Home
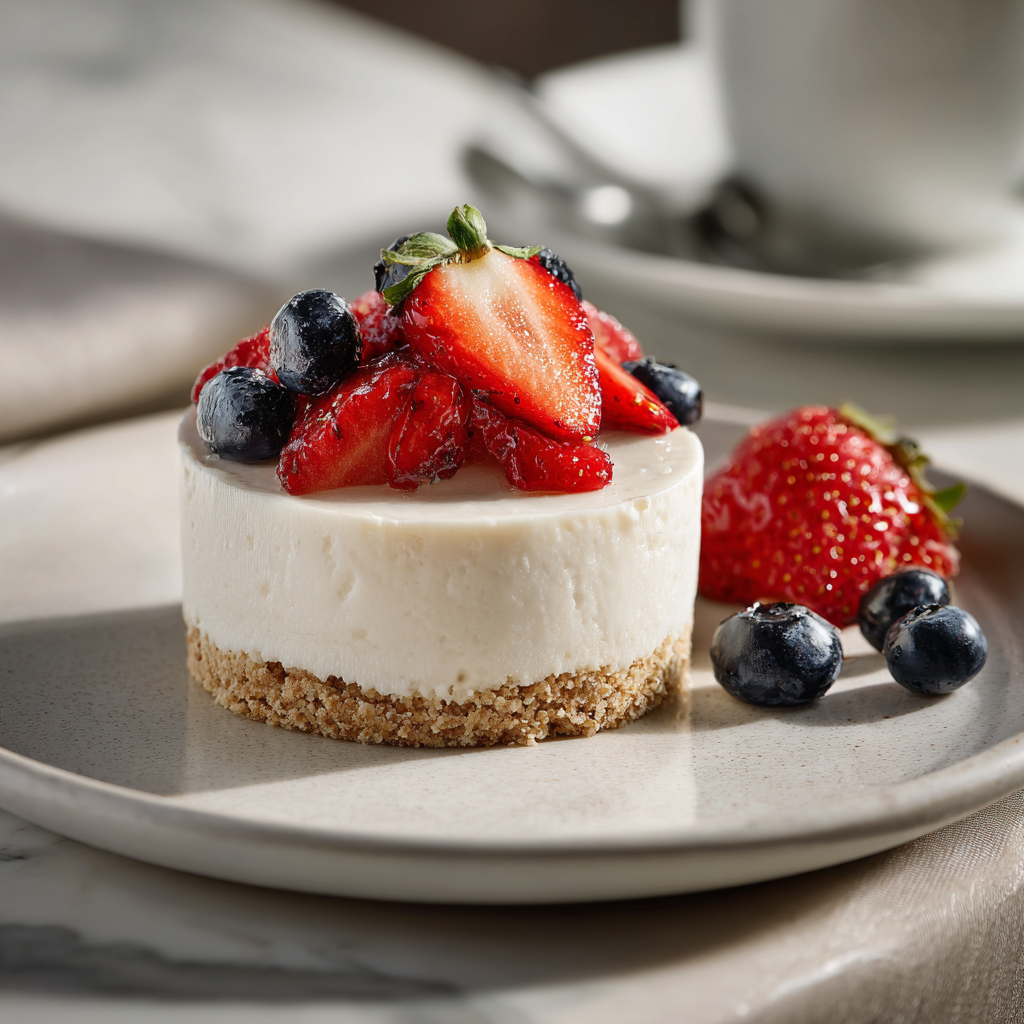
I love serving this No Bake Cheesecake straight from the refrigerator on warm afternoons. The cold, creamy texture feels refreshing and indulgent at the same time.
When guests visit, I decorate the top with fresh berries and a dusting of powdered sugar. It instantly looks elegant with very little effort.
For birthdays, I drizzle chocolate sauce over the top and add crushed cookies around the edges.
During summer gatherings, I pair this cheesecake with iced coffee or fresh lemonade. During colder months, I serve it beside hot tea while everyone sits around the kitchen table talking for hours.
This dessert somehow fits every occasion beautifully.
Storage, Reheating & Make-Ahead Tips
This No Bake Cheesecake stores wonderfully, which makes it perfect for planning ahead.
Refrigerator Storage
I keep leftovers covered in the refrigerator for up to 5 days.
The texture actually becomes even creamier after the first day.
Freezing
I sometimes freeze individual slices for easy desserts later.
I wrap each slice tightly in plastic wrap and store them in an airtight container.
When ready to eat, I thaw slices overnight in the refrigerator.
Make-Ahead Tips
This recipe works perfectly as a make-ahead dessert.
I often prepare it one day before serving because chilling overnight creates the best consistency and flavor.
Reheating
I never reheat No Bake Cheesecake because it tastes best cold and creamy straight from the fridge.
100-Word Short Version
This No Bake Cheesecake recipe creates a rich, creamy dessert without using the oven. I make the buttery biscuit crust with crushed digestive biscuits and melted butter, then fill it with a silky mixture of cream cheese, whipped cream, powdered sugar, vanilla, and lemon juice. After chilling for several hours, the cheesecake becomes perfectly firm and sliceable. I love topping it with fresh berries, chocolate drizzle, or caramel sauce depending on the occasion. This easy dessert feels elegant enough for celebrations while remaining simple enough for everyday family dinners. It always disappears quickly in my home.
Recipe Card
⏱️ Time
- Prep Time: 25 minutes
- Chill Time: 6 hours
- Total Time: 6 hours 25 minutes
🛒 Ingredients
Crust
- 2 cups crushed digestive biscuits or graham crackers
- 1/2 cup melted butter
- 2 tablespoons brown sugar
Filling
- 24 ounces cream cheese, softened
- 1 cup powdered sugar
- 1 teaspoon vanilla extract
- 1 tablespoon lemon juice
- 1 1/2 cups heavy whipping cream
Optional Toppings
- Fresh strawberries
- Blueberries
- Chocolate curls
- Caramel sauce
- Cherry pie filling
👩🍳 Instructions
- Crush the biscuits into fine crumbs.
- Mix crumbs with melted butter and brown sugar.
- Press the mixture firmly into a springform pan.
- Refrigerate the crust while preparing the filling.
- Beat softened cream cheese until smooth.
- Add powdered sugar, vanilla extract, and lemon juice.
- Mix until creamy and silky.
- Whip heavy cream in a separate bowl until stiff peaks form.
- Fold whipped cream gently into the cream cheese mixture.
- Spread filling evenly over the crust.
- Smooth the top with a spatula.
- Cover and refrigerate for at least 6 hours or overnight.
- Add desired toppings before serving.
- Slice and enjoy cold.
📝 Notes
- Always use full-fat cream cheese for the best texture.
- Chill overnight for cleaner slices.
- Fresh fruit adds beautiful color and flavor.
- Avoid overmixing after adding whipped cream.
- Store leftovers covered in the refrigerator.
🍽️ Nutrition
- Calories: 420 per slice
- Protein: 6g
- Carbohydrates: 28g
- Fat: 32g
- Saturated Fat: 19g
- Cholesterol: 95mg
- Sugar: 18g
- Sodium: 280mg
- Fiber: 1g

No Bake Cheesecake
- Total Time: 6 hours 25 minutes
- Yield: 8 servings 1x
- Diet: Vegetarian
Description
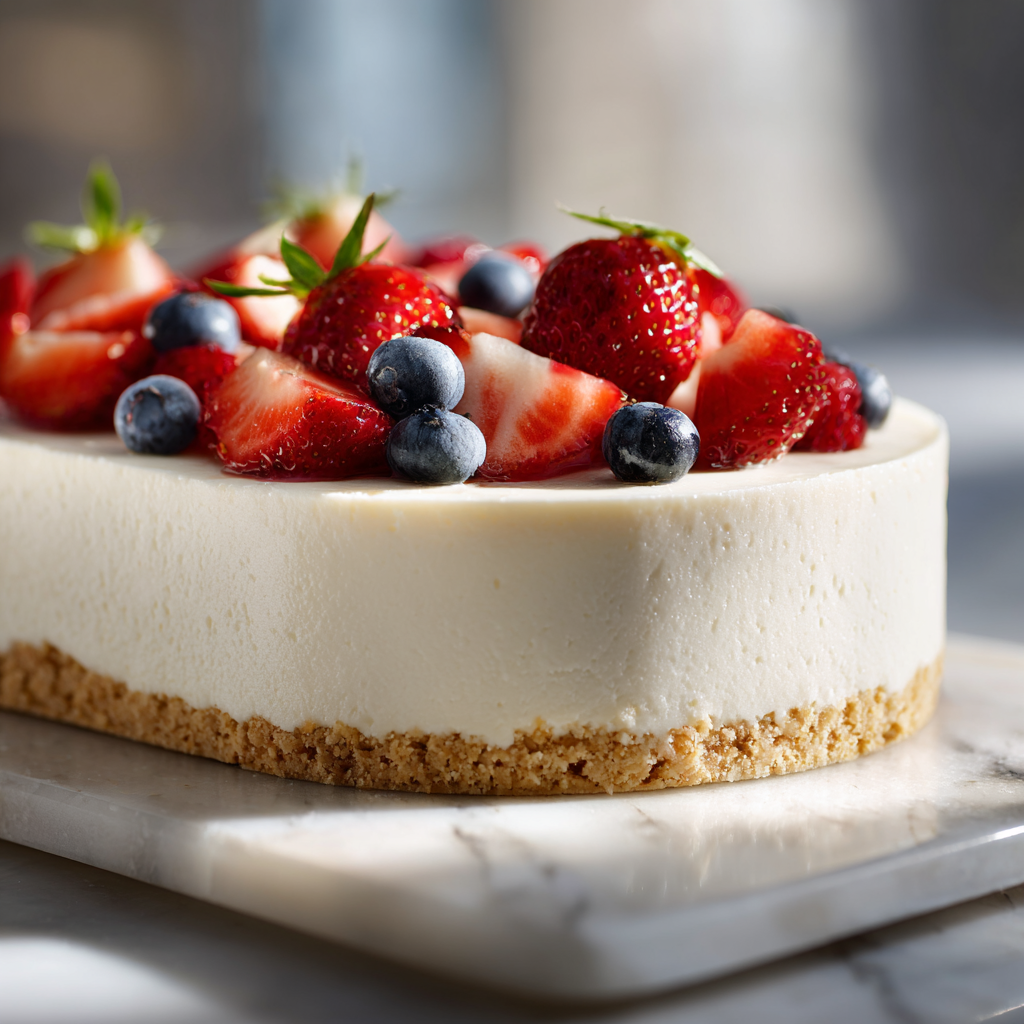
This No Bake Cheesecake is rich, creamy, smooth, and incredibly easy to make without turning on the oven. I make this dessert with a buttery biscuit crust and a silky cheesecake filling that melts in every bite. Perfect for family gatherings, holidays, birthdays, or warm summer evenings, this cheesecake always impresses with minimal effort.
Ingredients
- 2 cups crushed digestive biscuits or graham crackers
- 1/2 cup melted butter
- 2 tablespoons brown sugar
- 24 ounces cream cheese, softened
- 1 cup powdered sugar
- 1 teaspoon vanilla extract
- 1 tablespoon lemon juice
- 1 1/2 cups heavy whipping cream
- Fresh strawberries for topping
- Blueberries for garnish
Instructions
- Crush the digestive biscuits into fine crumbs.
- Mix the crumbs with melted butter and brown sugar until combined.
- Press the crust mixture firmly into the bottom of a springform pan.
- Place the crust in the refrigerator while preparing the filling.
- Beat the softened cream cheese until smooth and fluffy.
- Add powdered sugar, vanilla extract, and lemon juice, then mix well.
- Whip the heavy cream in a separate bowl until stiff peaks form.
- Fold the whipped cream gently into the cream cheese mixture.
- Spread the filling evenly over the chilled crust.
- Smooth the top with a spatula.
- Refrigerate the cheesecake for at least 6 hours or overnight.
- Top with fresh berries before serving.
- Slice and serve chilled.
Notes
Always use full-fat cream cheese for the creamiest texture. Chill the cheesecake overnight for cleaner slices and better flavor. I love adding fresh berries, caramel drizzle, or chocolate curls before serving. Store leftovers covered in the refrigerator for up to 5 days.
- Prep Time: 25 minutes
- Cook Time: 0 minutes
- Category: Dessert
- Method: No Bake
- Cuisine: American
Nutrition
- Serving Size: 1 slice
- Calories: 420
- Sugar: 18g
- Sodium: 280mg
- Fat: 32g
- Saturated Fat: 19g
- Unsaturated Fat: 10g
- Trans Fat: 0g
- Carbohydrates: 28g
- Fiber: 1g
- Protein: 6g
- Cholesterol: 95mg
Conclusion
This No Bake Cheesecake always reminds me that the best desserts don’t need to be complicated. A few simple ingredients, a little patience, and a lot of love create something truly unforgettable.
I love how this recipe brings everyone together around the table with smiles and second slices. Every creamy bite feels comforting, homemade, and full of warmth.
Whether I prepare it for a birthday celebration, a family dinner, or a quiet evening at home, this cheesecake never disappoints. I hope it fills your kitchen with sweet memories just like it does in mine.