
The Story & Intro
There’s something magical about making Homemade Chocolate-Dipped Marshmallows especially when it brings back memories from my childhood in Crete. Growing up, I spent so many cozy winter evenings helping my grandmother in her kitchen as she whipped up sweet treats for our family. We didn’t make marshmallows back then, but she taught me something far more important: food becomes unforgettable when you make it with love.
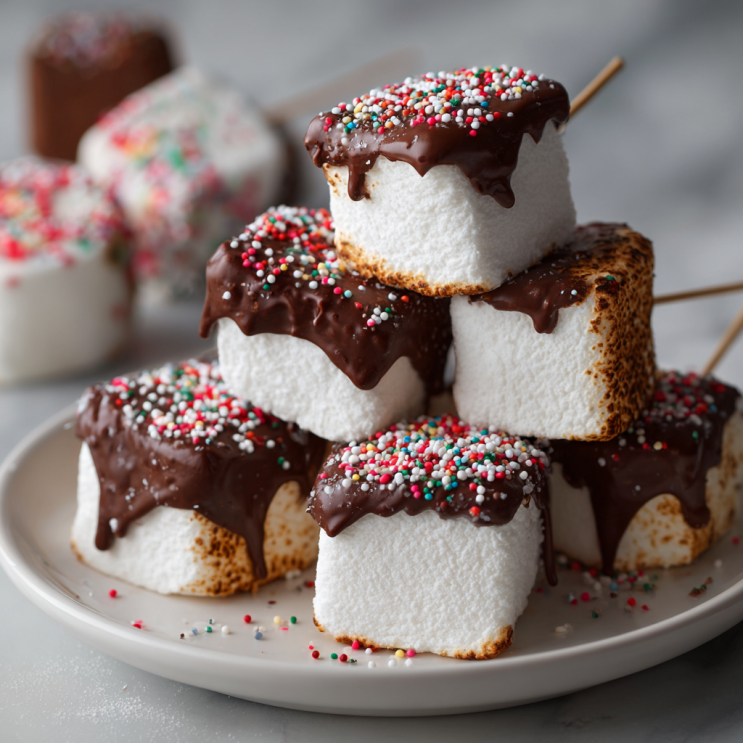
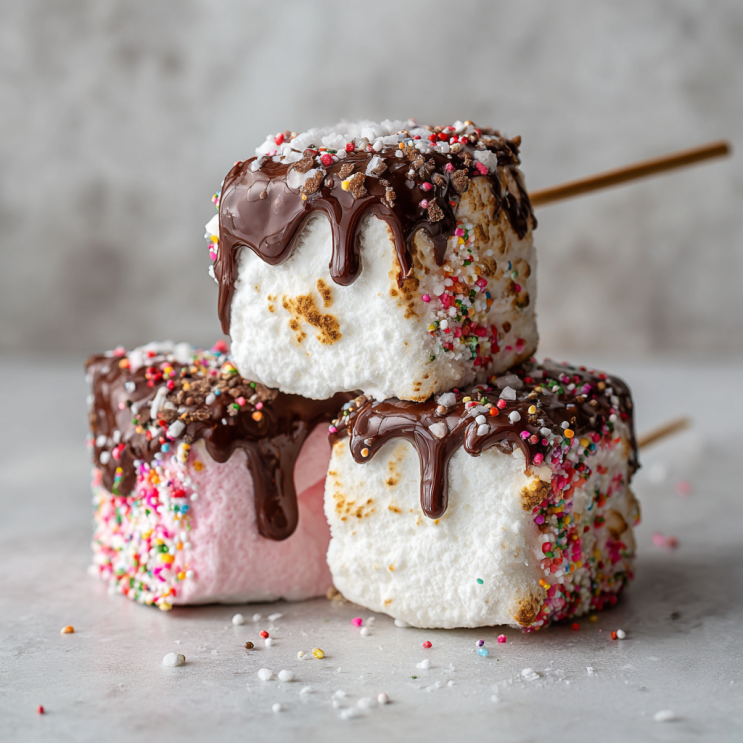
Now, every time I prepare a batch of Homemade Chocolate-Dipped Marshmallows, I feel that same warmth. They’re simple, playful, and incredibly satisfying to make. I love how a fluffy vanilla marshmallow suddenly transforms into a decadent bite once it’s dipped into glossy melted chocolate. And the toppings oh, the toppings! from crushed pistachios to toasted coconut, remind me of the bold textures and colors of Greek desserts I grew up with.
As a 38-year-old woman who still believes the kitchen is where laughter and memories are made, these Homemade Chocolate-Dipped Marshmallows are one of my favorite treats to share. Whether you’re making them for a party, gifting them to someone special, or just enjoying a sweet moment with your kids, this recipe is all about fun and connection.
Let’s make something delicious together something simple, sweet, and made with the same love my grandmother passed down to me.
Short 100-Word Story Version for Recipe Use
Hi, I’m Marilyn, a home cook from the beautiful island of Crete. Growing up, I learned from my grandmother that the best recipes are the ones made with love. These Homemade Chocolate-Dipped Marshmallows remind me of the simple joy of creating treats that bring people together. The fluffy marshmallows, rich chocolate, and fun toppings make every bite feel special. I love sharing this recipe because it’s playful, easy, and perfect for making memories—whether you’re celebrating a holiday, preparing gifts, or just enjoying sweet moments in the kitchen. Let’s cook something warm and joyful together!
Why You’ll Love This Recipe
- Quick, fun, and beginner-friendly
- Kid-approved and perfect for holidays
- Customizable with endless topping options
- Ideal for gifts or party platters
- Uses simple, easy-to-find ingredients
Ingredients You’ll Need
For the Marshmallows
- 3 envelopes unflavored gelatin
- 1 cup cold water, divided
- 1 ½ cups granulated sugar
- 1 cup light corn syrup
- ¼ teaspoon salt
- 1 tablespoon vanilla extract
- Powdered sugar for dusting
For the Chocolate Coating
- 2 cups dark chocolate chips or melting wafers
- 1 tablespoon coconut oil or vegetable shortening (optional, for shine)
Toppings (Choose Your Favorites!)
- Crushed pistachios
- Sprinkles
- Toasted coconut
- Crushed candy canes
- Mini chocolate chips
- Sea salt flakes
Step-by-Step Instructions
Make the Marshmallows
1. Prepare your pan
Grease a 9×13 pan lightly and dust it generously with powdered sugar. This prevents sticking.
2. Bloom the gelatin
In the bowl of your stand mixer, add gelatin and ½ cup cold water. Let it sit while you prepare the sugar syrup.
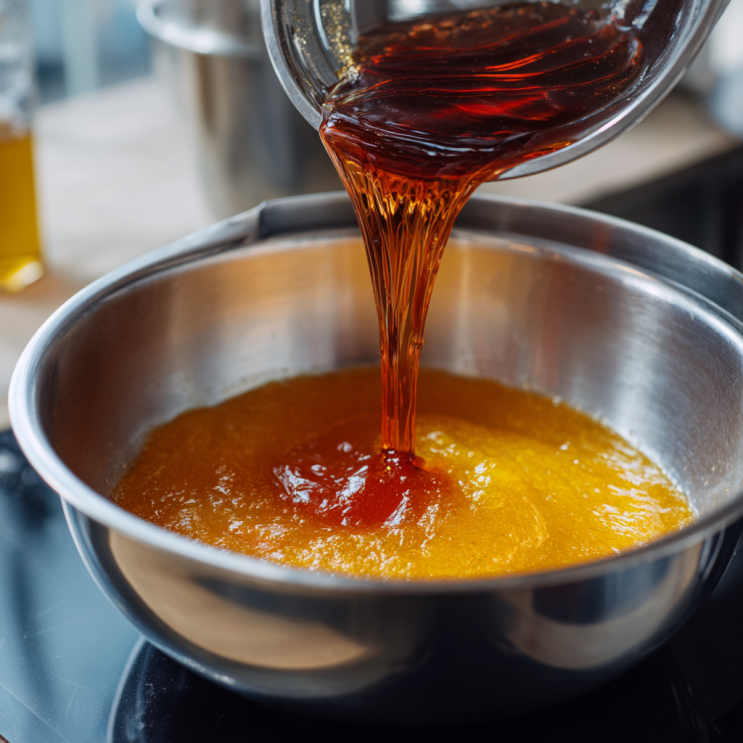
3. Cook the syrup
In a saucepan, combine remaining ½ cup water, sugar, corn syrup, and salt. Heat on medium, stirring until sugar dissolves.
Increase heat to high and cook until mixture reaches 240°F (soft-ball stage). Use a candy thermometer for accuracy.
4. Whip it into fluff
Turn the mixer to low and slowly pour the hot syrup into the gelatin. Once added, turn mixer to high and beat for 10–12 minutes until thick, glossy, and tripled in volume.
Mix in the vanilla.
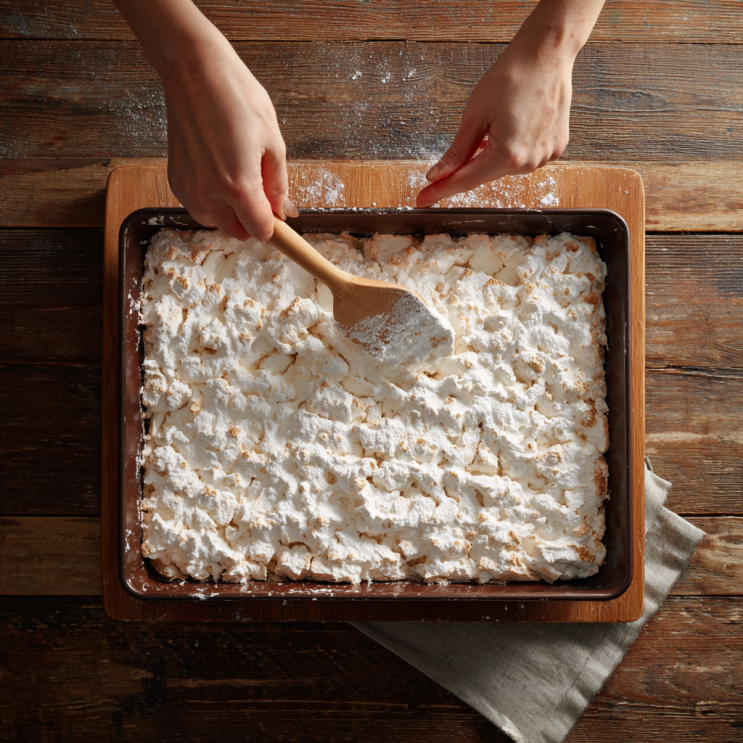
5. Pour and set
Scrape the marshmallow mixture into the prepared pan. Smooth the top with a greased spatula.
Let it sit uncovered at room temperature for 6 hours or overnight.
6. Cut the marshmallows
Dust a cutting board with powdered sugar. Turn out the marshmallow slab, coat top with more sugar, and cut into squares.
Toss each square in powdered sugar to prevent sticking.
Dip in Chocolate
1. Melt the chocolate
Microwave chocolate with coconut oil in 20-second intervals until smooth, or use a double boiler.
2. Dip the marshmallows
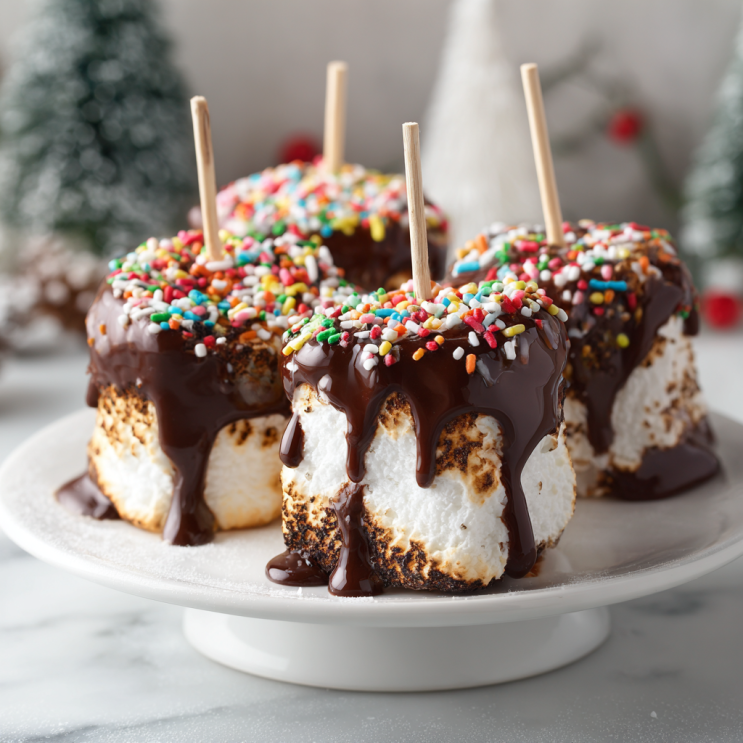
Hold each marshmallow with a skewer, dip halfway into chocolate, and gently tap to remove excess.
3. Add toppings
Before the chocolate sets, sprinkle toppings of your choice.
4. Let them set
Place dipped marshmallows on parchment paper and allow chocolate to harden completely.
Serving Suggestions
These Homemade Chocolate-Dipped Marshmallows are perfect for:
- Holiday dessert trays
- Hot chocolate stirring sticks
- Edible gifts wrapped in cellophane
- Party favors
- Movie night treats
- Birthday dessert boards
Serve them at room temperature for the softest, fluffiest bite.
Make-Ahead & Storage Tips
- Store in an airtight container at room temperature for up to 10 days.
- Avoid refrigerating they’ll get sticky.
- Freeze only undipped marshmallows if needed (up to 2 months).
Recipe Notes
- Want extra flavor? Add peppermint extract, almond extract, or orange zest.
- Use white chocolate for a sweeter version.
- Mini marshmallows also work great for bite-size treats.
- Add flaky sea salt for a gourmet twist.
Type of Card Recipes 🍫✨
⏱️ Time
- Prep: 20 minutes
- Cook: 10 minutes
- Set: 6 hours
- Total: ~6 hours 30 minutes
🛒 Ingredients
All ingredients listed above.
👩🍳 Instructions
- Make marshmallows
- Cut them
- Melt chocolate
- Dip & decorate
- Let set
📝 Notes
- Avoid cold environments to prevent sweating
- Coat knife in powdered sugar for clean cuts
📊 Nutrition (Per Marshmallow)
Estimated:
- 110 calories
- 4g fat
- 18g carbs
- 1g protein
Conclusion
These Homemade Chocolate-Dipped Marshmallows are the perfect way to bring joy back into your kitchen. They’re fun to make, delicious to eat, and customizable for any holiday, celebration, or cozy night in. Just like the desserts I grew up making on the island of Crete, these sweet treats carry a little magic one you’ll feel in every fluffy, chocolatey bite. Whether you’re gifting them, sharing them, or enjoying them all to yourself, this recipe turns simple ingredients into something memorable. I’m so excited for you to make them and create your own sweet moments at home!