

Section 1: The Story & Intro
Whenever I think of Danish Butter Cookies, I’m instantly transported back to my grandmother’s kitchen in Crete. Even though these cookies are Danish, the memory of baking in a warm kitchen, the smell of buttery dough, and the joy of sharing treats with family feels universal. I remember the first time I tried them as a teenager; their crisp, buttery texture and delicate sweetness were unlike anything I had tasted in Greece. That moment sparked my love for buttery, melt-in-your-mouth cookies.
I wanted to recreate that feeling at home, but with my own twist simple ingredients, minimal fuss, and the same irresistible buttery flavor. These Danish Butter Cookies are perfect for anyone who loves classic desserts that feel homemade and comforting.
Making these cookies is more than just following a recipe; it’s a chance to slow down, enjoy the process, and create memories in the kitchen. The buttery dough, the delicate piping, and the golden edges make each cookie feel special even if your kitchen ends up a little messy (don’t worry, that’s part of the fun!).
This recipe is ideal for beginners and experienced bakers alike. Whether you’re baking for a holiday gathering, a gift, or simply to enjoy with a cup of tea, these Danish Butter Cookies will bring warmth, joy, and that classic, buttery flavor we all love.
Ingredients
For the Cookies
- 1 cup (225g) unsalted butter, softened
- ¾ cup (150g) granulated sugar
- 1 large egg
- 2 tsp vanilla extract
- 2 ¼ cups (280g) all-purpose flour
- ¼ tsp salt
Optional Toppings
- Granulated sugar for sprinkling
- Sliced almonds for garnish
Step-by-Step Instructions
1. Prepare Your Workspace
Preheat your oven to 350°F (175°C) and line baking sheets with parchment paper. Having everything ready before mixing will make the process smoother. Butter cookies are all about precision, so weigh or measure your ingredients carefully.
2. Cream the Butter and Sugar
In a large mixing bowl, use a hand mixer or stand mixer to beat the softened butter and sugar until light and fluffy. This usually takes about 3–4 minutes. The texture should look airy and pale, which ensures the cookies will be tender and melt-in-your-mouth.

3. Add the Egg and Vanilla
Add the egg and vanilla extract to the creamed butter mixture and beat until fully incorporated. This step adds richness and helps the dough bind together.
4. Incorporate the Flour and Salt
Gradually add the flour and salt to the wet mixture, mixing on low speed until just combined. Be careful not to overmix overworked dough can make the cookies tough instead of tender. The dough should be soft but firm enough to hold its shape when piped or scooped.
5. Pipe or Shape the Cookies
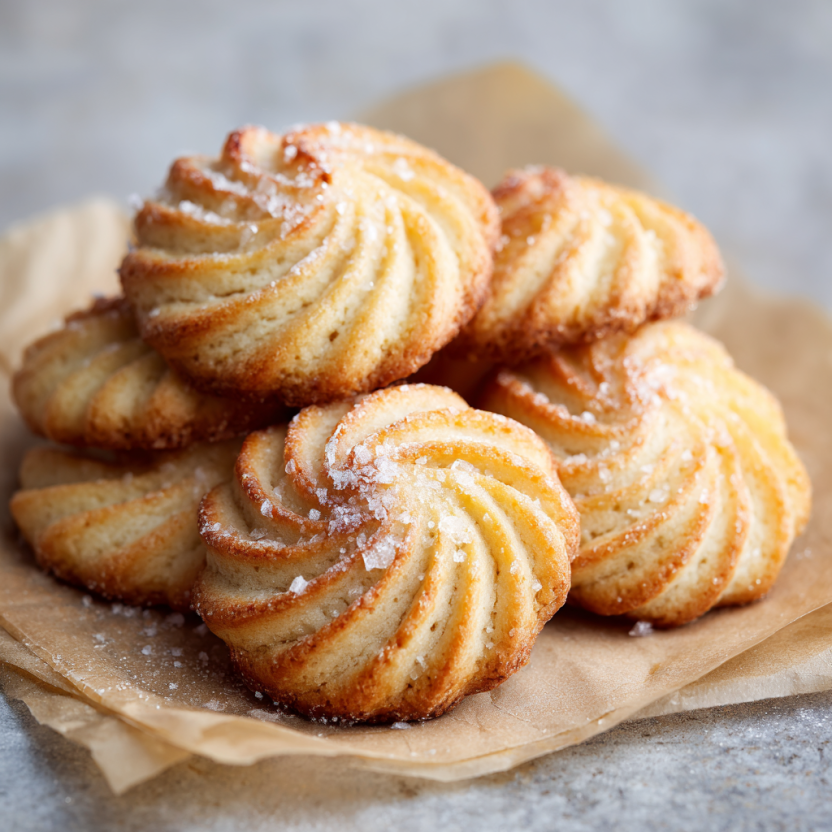
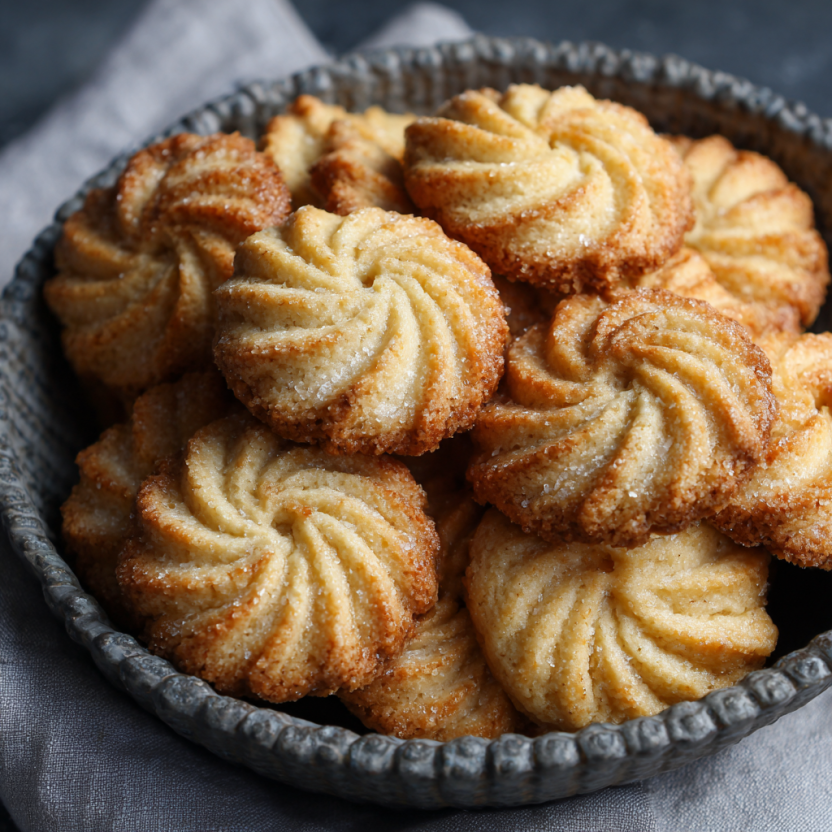
Transfer the dough to a piping bag fitted with a star tip (classic for Danish Butter Cookies) and pipe small swirls or shapes onto the prepared baking sheets. If you don’t have a piping bag, you can roll small balls and slightly flatten them with a fork. Sprinkle with granulated sugar or sliced almonds if desired.
6. Bake to Perfection
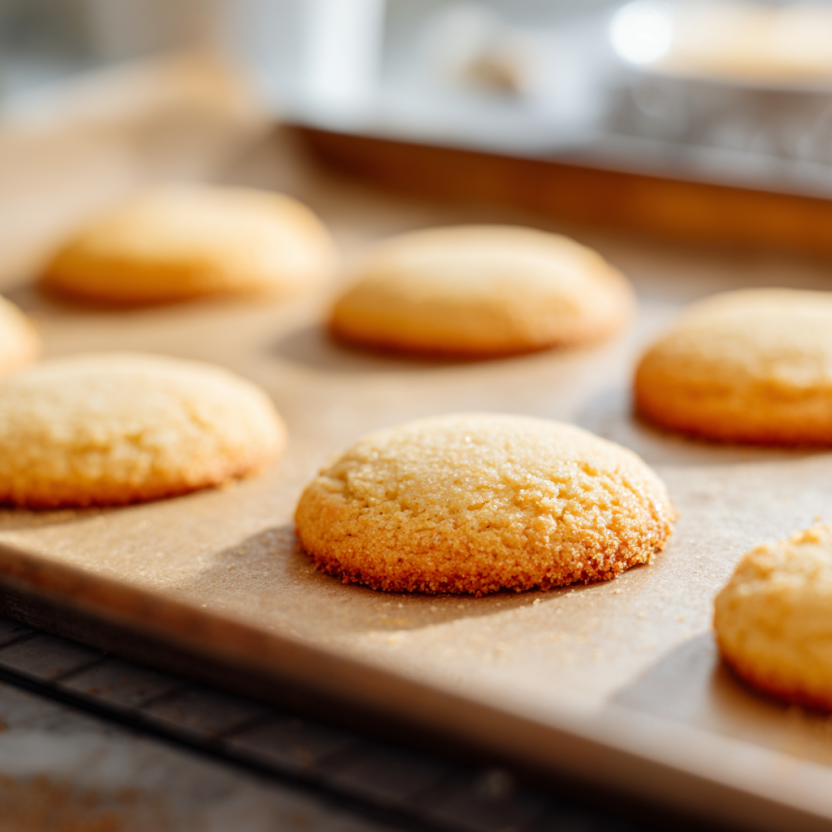
Bake the cookies for 10–12 minutes, or until the edges are lightly golden. Keep a close eye during the last few minutes to avoid overbaking the cookies should remain pale but firm.
7. Cool and Store
Allow the cookies to cool on the baking sheet for 5 minutes, then transfer them to a wire rack to cool completely. Store in an airtight container to maintain their crispness. These cookies can last for up to 2 weeks if stored properly.
Serving Suggestions
These Danish Butter Cookies are versatile and perfect for:
- Afternoon tea or coffee breaks ☕
- Festive cookie platters 🎄
- Homemade gift boxes 🎁
- Sharing with friends, family, or neighbors 👫
Serve them fresh for maximum crispness, or enjoy slightly softened cookies at room temperature. Either way, their buttery, melt-in-your-mouth texture is guaranteed to impress.
Tips Before Conclusion (Recipe Card Style) 🍪✨
⏱️ Time
- Prep Time: 15 minutes
- Baking Time: 10–12 minutes
- Total Time: ~30 minutes
🛒 Ingredients
Butter, sugar, egg, vanilla, flour, salt, optional almonds
👩🍳 Instructions
- Preheat oven & line sheets
- Cream butter & sugar
- Add egg & vanilla
- Mix in flour & salt
- Pipe or shape cookies
- Bake 10–12 mins
- Cool & store
💡 Notes
- For classic Danish shapes, use a star piping tip.
- Don’t overbake cookies should stay pale with golden edges.
- Store in airtight containers to maintain crispness.
📊 Nutrition (per cookie, approx.)
- Calories: 95
- Fat: 6g
- Carbs: 9g
- Sugar: 5g
- Protein: 1g
Conclusion
Making Danish Butter Cookies is a delightful way to add warmth and sweetness to your kitchen. From the first creamy beat of butter and sugar to the golden, crisp edges that melt in your mouth, these cookies are a simple yet elegant treat. They’re perfect for holidays, special occasions, or a quiet afternoon with a cup of tea.
Baking is more than just creating food it’s about connecting with memories, traditions, and the people you share them with. Whether you’re a beginner or an experienced baker, these Danish Butter Cookies offer that perfect balance of buttery richness, tender texture, and homemade charm that makes every bite unforgettable.
So grab your mixing bowl, preheat your oven, and create a batch of cookies that’s sure to become a family favorite. 🍪💛
💬 100-Word Story + Recipe Version
Hi, I’m Marilyn from Crete, and this Danish Butter Cookies recipe reminds me of cozy kitchens and sweet memories. I love how simple ingredients butter, sugar, egg, flour, and vanilla transform into crisp, melt-in-your-mouth cookies. This recipe is easy for anyone: cream butter and sugar, add egg and vanilla, mix in flour, shape with a piping bag, bake until golden, and enjoy. Sprinkle with sugar or almonds for a festive touch. Perfect for gifting, holidays, or tea time, these cookies bring warmth, happiness, and a touch of homemade magic to every bite.