
Section 1: The Story & Intro
Every time I make gluten-free red velvet cake pops, I’m instantly taken back to my childhood kitchen in Crete. I still remember standing beside my grandmother, watching her hands dusted with flour as she taught me patience, love, and how food brings people together. Even though we didn’t grow up making cake pops, the heart behind them feels just the same. It’s all about sharing joy in the sweetest way possible.
When I first started experimenting with gluten-free red velvet cake pops, it was for a close friend who couldn’t enjoy regular desserts anymore. I wanted her to feel included, to bite into something soft, chocolatey, and full of celebration without worry. And let me tell you, once I nailed the texture and flavor, these little treats became a favorite at every gathering.
What I love most about gluten-free red velvet cake pops is how they turn a classic, elegant cake into fun, handheld bites that everyone adores. Whether it’s a holiday table, birthday party, baby shower, or just a cozy weekend treat, they always disappear fast. Sometimes my kitchen gets completely messy with melted chocolate and sprinkles everywhere but that’s where the fun is, right?
If you’re new to gluten-free baking, don’t worry. These gluten-free red velvet cake pops are simple, forgiving, and incredibly rewarding. Together, we’ll turn everyday ingredients into something unforgettable. Let’s make memories one sweet pop at a time.
Why These Gluten-Free Cake Pops Are So Special
These cake pops keep everything you love about classic red velvet rich cocoa flavor, soft crumb, and that light tang without any gluten. They’re moist on the inside, smooth on the outside, and perfectly balanced between sweet and creamy.
They’re also:
- Naturally festive and colorful
- Easy to decorate for any occasion
- Perfect for parties and gifting
- Freezer-friendly
- Loved by kids and adults alike
Even people who don’t follow a gluten-free lifestyle can’t tell the difference.
Ingredients You’ll Need
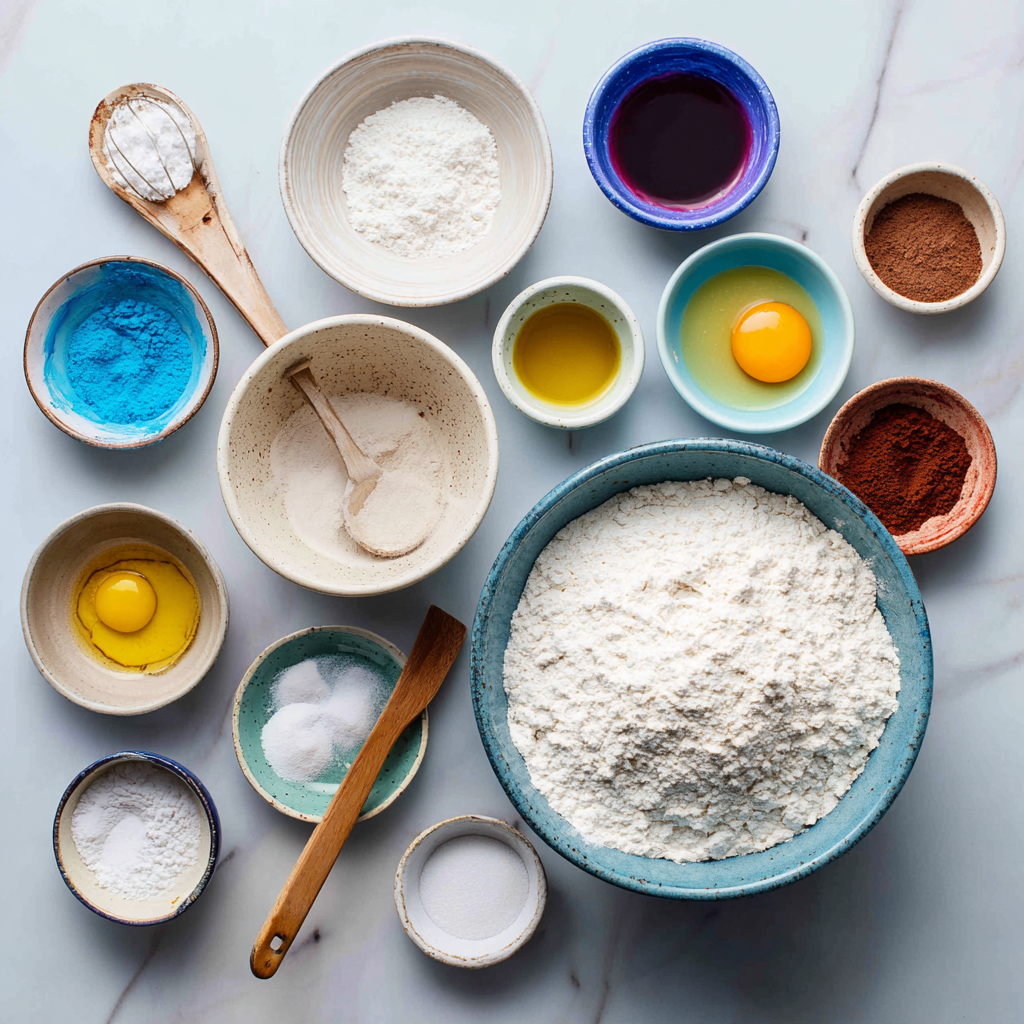
For the Gluten-Free Red Velvet Cake:
- 2 cups gluten-free all-purpose flour (with xanthan gum)
- 1 ½ cups granulated sugar
- 2 tablespoons cocoa powder
- 1 teaspoon baking soda
- ½ teaspoon salt
- 1 cup buttermilk (or dairy-free alternative)
- ½ cup vegetable oil
- 2 large eggs
- 1 tablespoon white vinegar
- 1 teaspoon vanilla extract
- 1 tablespoon red food coloring
For the Binder:
- ¾ cup cream cheese frosting (store-bought or homemade)
For the Coating:
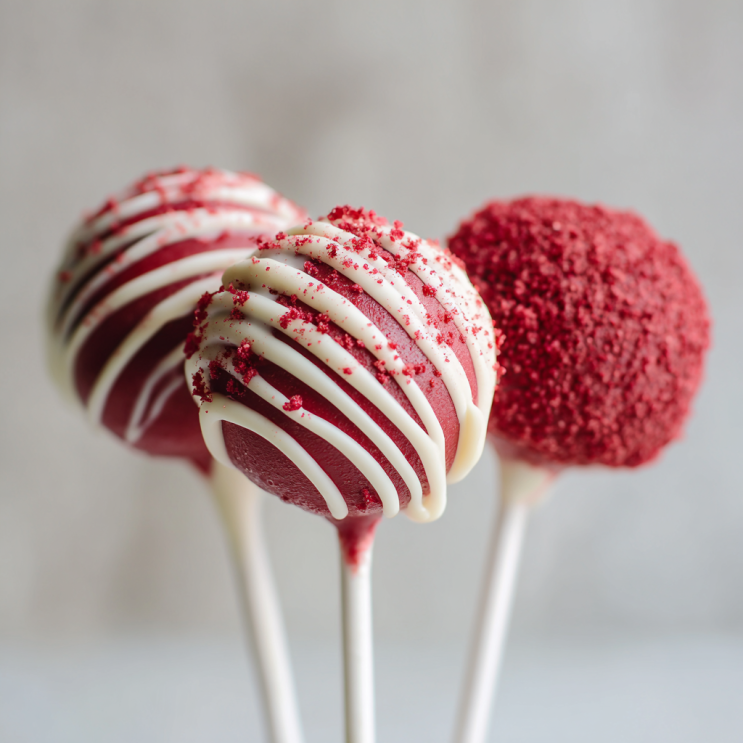
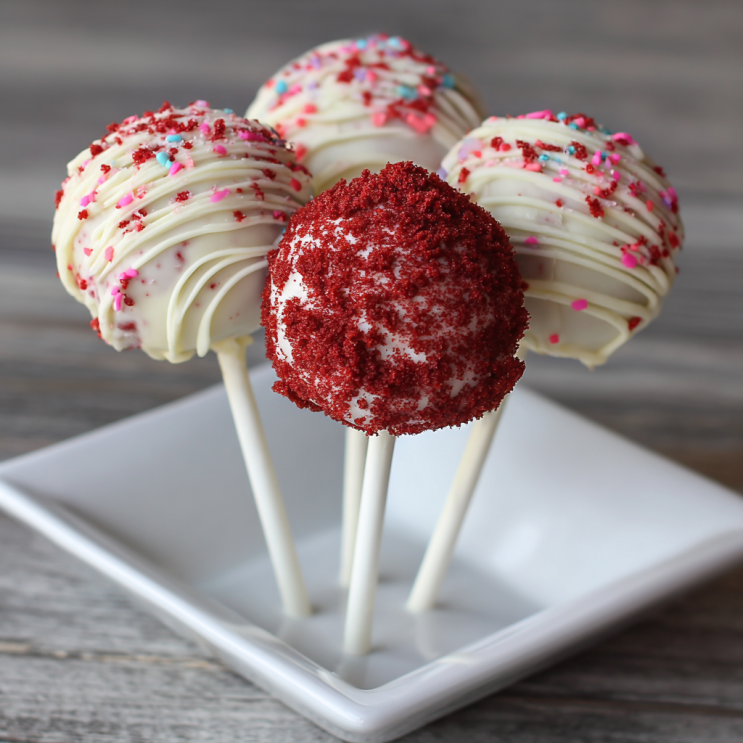
- 12 ounces white chocolate or candy melts
- Lollipop sticks
For Decoration (Optional):
- Red sprinkles
- Crushed gluten-free cookies
- Edible glitter
- Drizzled dark chocolate
Step-by-Step Instructions
Start by preheating your oven to 350°F. Grease and line an 8×8 baking pan.
In a large bowl, whisk together gluten-free flour, sugar, cocoa powder, baking soda, and salt. In another bowl, mix buttermilk, oil, eggs, vinegar, vanilla, and food coloring until smooth.
Pour the wet mixture into the dry ingredients and stir until fully combined. The batter should look silky and deep red.
Pour the batter into your prepared pan and bake for 25–30 minutes. Insert a toothpick into the center if it comes out clean, your cake is ready. Let the cake cool completely.
Once cooled, crumble the cake into fine crumbs using your hands or a food processor. Add the cream cheese frosting and mix until the texture feels like soft dough. It should hold together when pressed.
Scoop out tablespoon-sized portions and roll them into smooth balls. Place them on a lined baking sheet and refrigerate for 2 hours or freeze for 30 minutes.
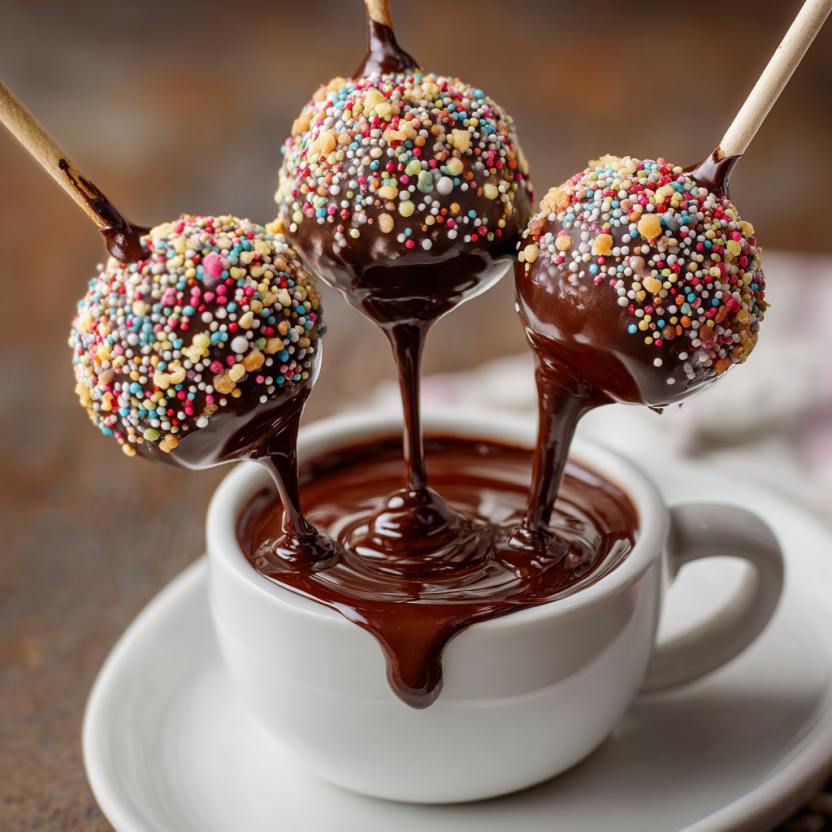
Melt the white chocolate in short microwave bursts, stirring between each.
Dip the tip of each lollipop stick into melted chocolate, then push it into a cake ball. This helps secure the stick. Let set for a few minutes.
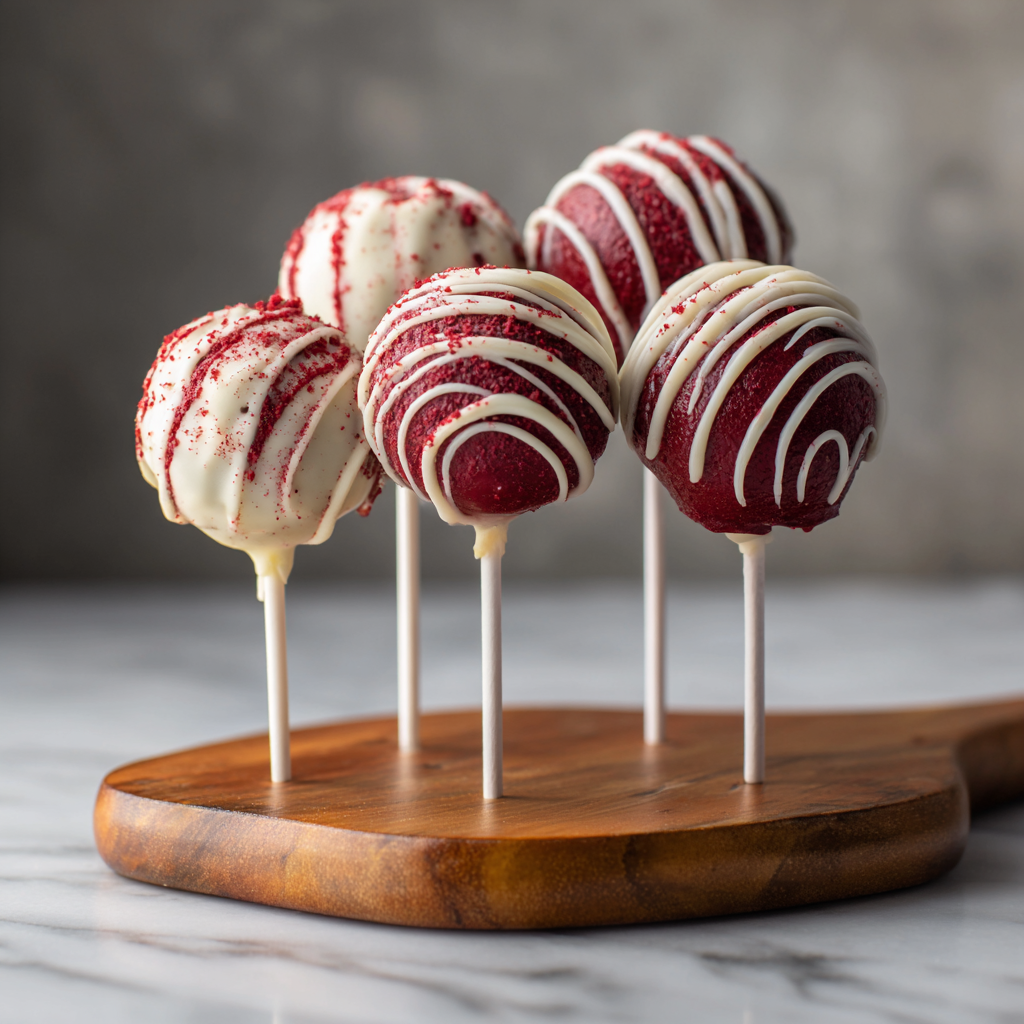
Now dip each cake pop into the melted chocolate, gently tapping off excess. Decorate immediately with sprinkles or drizzle.
Stand the cake pops upright in a foam block or place them flat on parchment paper. Refrigerate until set.
Serving Ideas That Make Them Shine
Serve gluten-free red velvet cake pops on decorative stands for special events. Add ribbons to the sticks for gifts. Place them in mason jars for party centerpieces. They also look stunning on dessert grazing boards with brownies, berries, and chocolate bark.
For holidays, match the sprinkles to the season red and green for Christmas, pastel shades for Easter, and gold glitter for New Year’s Eve.
Helpful Tips for Perfect Cake Pops Every Time
- Chill the cake balls before dipping to avoid cracking.
- Use high-quality chocolate for a smoother coating.
- If your coating thickens, reheat gently.
- Don’t rush the setting process let them fully firm up.
- Store in an airtight container to maintain freshness.
100-Word Short Version of the Recipe
These gluten-free red velvet cake pops deliver rich chocolate flavor, soft texture, and beautiful color in every bite. Start by baking a moist gluten-free red velvet cake, crumble it, and mix it with cream cheese frosting to create smooth cake balls. Chill, insert sticks, then dip into melted white chocolate and decorate as you like. Perfect for parties, holidays, and gifting, these cake pops look stunning and taste amazing. Even non-gluten-free guests will love them. They’re fun to make, easy to customize, and guaranteed to disappear fast.
🎂 Recipe Card – Gluten-Free Red Velvet Cake Pops
⏱ Time Cook
Prep Time: 25 minutes
Bake Time: 30 minutes
Chill Time: 2 hours
Total Time: 2 hours 55 minutes
🧺 Ingredients
Gluten-free flour, cocoa powder, sugar, baking soda, salt, buttermilk, oil, eggs, vinegar, vanilla, red food coloring, cream cheese frosting, white chocolate, lollipop sticks
📝 Instruction
Bake cake → Cool → Crumble → Mix with frosting → Roll → Chill → Dip → Decorate → Set
📌 Note
Always chill the cake balls before dipping for clean, crack-free coating.
🥗 Nutrition (Per Pop – Approx.)
Calories: 170
Carbs: 22g
Fat: 8g
Protein: 2g
Sugar: 16g
Conclusion
Cooking for others is one of the simplest ways to show love, and these gluten-free red velvet cake pops do exactly that. From my grandmother’s kitchen in Crete to yours, the heart of cooking hasn’t changed it’s about care, connection, and creating moments worth remembering. Whether you’re baking for someone with dietary needs or simply trying something new, this recipe proves that gluten-free desserts can still be indulgent, festive, and deeply comforting.
I hope these cake pops bring smiles, laughter, and a little sweetness to your table.