
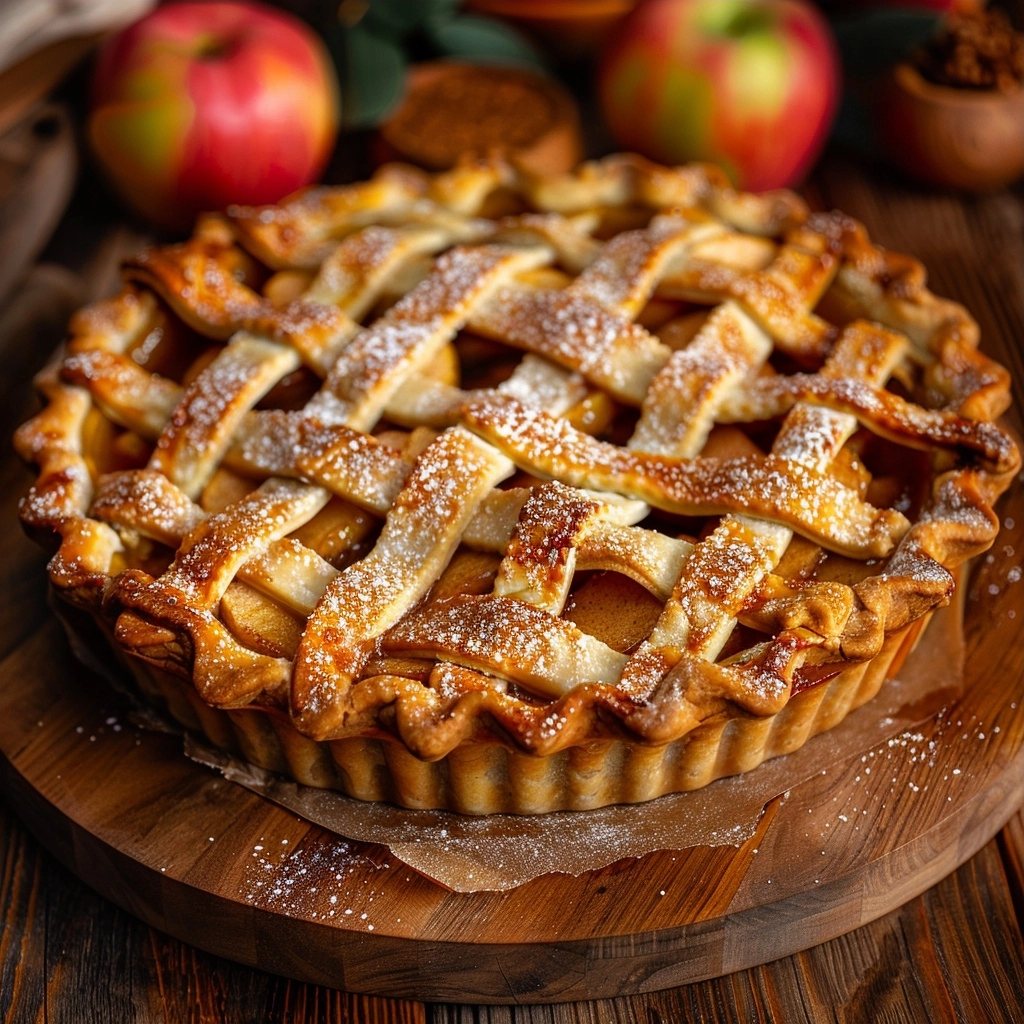
Homemade apple pie is a timeless dessert featuring a flaky, buttery crust filled with spiced, tender fruit slices. This traditional treat provides the perfect balance of sweetness and acidity while showcasing the natural flavors of orchard-fresh apples. Mastering this recipe guarantees a centerpiece dessert that brings comfort to any dining table through its golden-brown finish and rich, aromatic filling.
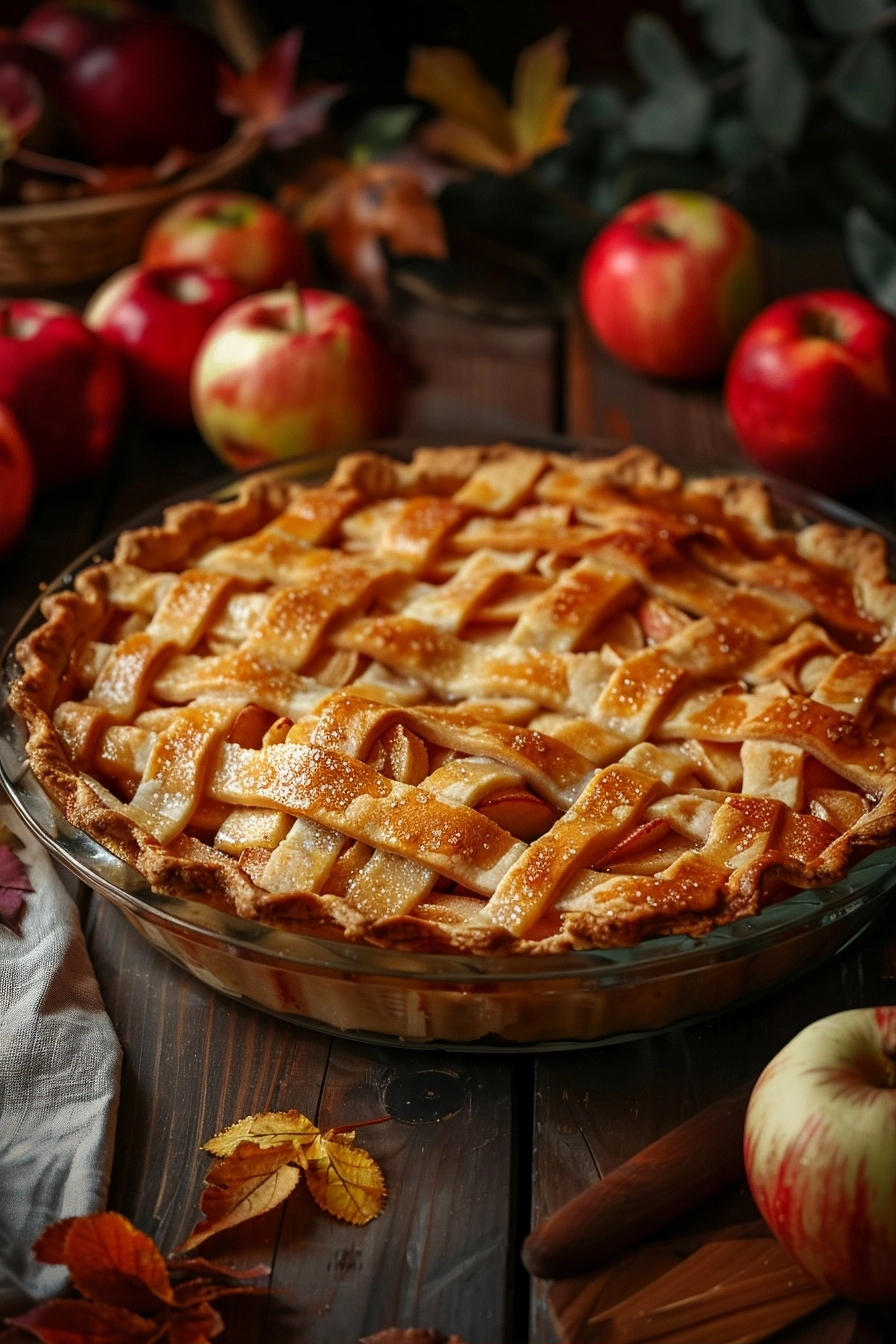
Recipe Overview
| Property | Value |
|---|---|
| Prep Time | 45 minutes |
| Cook Time | 55 minutes |
| Total Time | 1 hour 40 minutes |
| Servings | 8 servings |
| Difficulty | Intermediate |
| Cuisine | American |
Why This Recipe Works
This recipe works because it relies on the science of chilled fats to create an exceptionally flaky, layered crust that contrasts beautifully with the soft fruit. By pre-cooking the apples slightly, I eliminate the common gap between the top crust and the filling, ensuring every bite is dense with flavor.
My experience in perfecting this dessert proves that using a mix of Granny Smith and Honeycrisp apples provides the ideal texture and taste profile. The balance of acidity keeps the pie from becoming overly sweet, while the precise flour-to-butter ratio prevents the crust from turning soggy during the baking process.
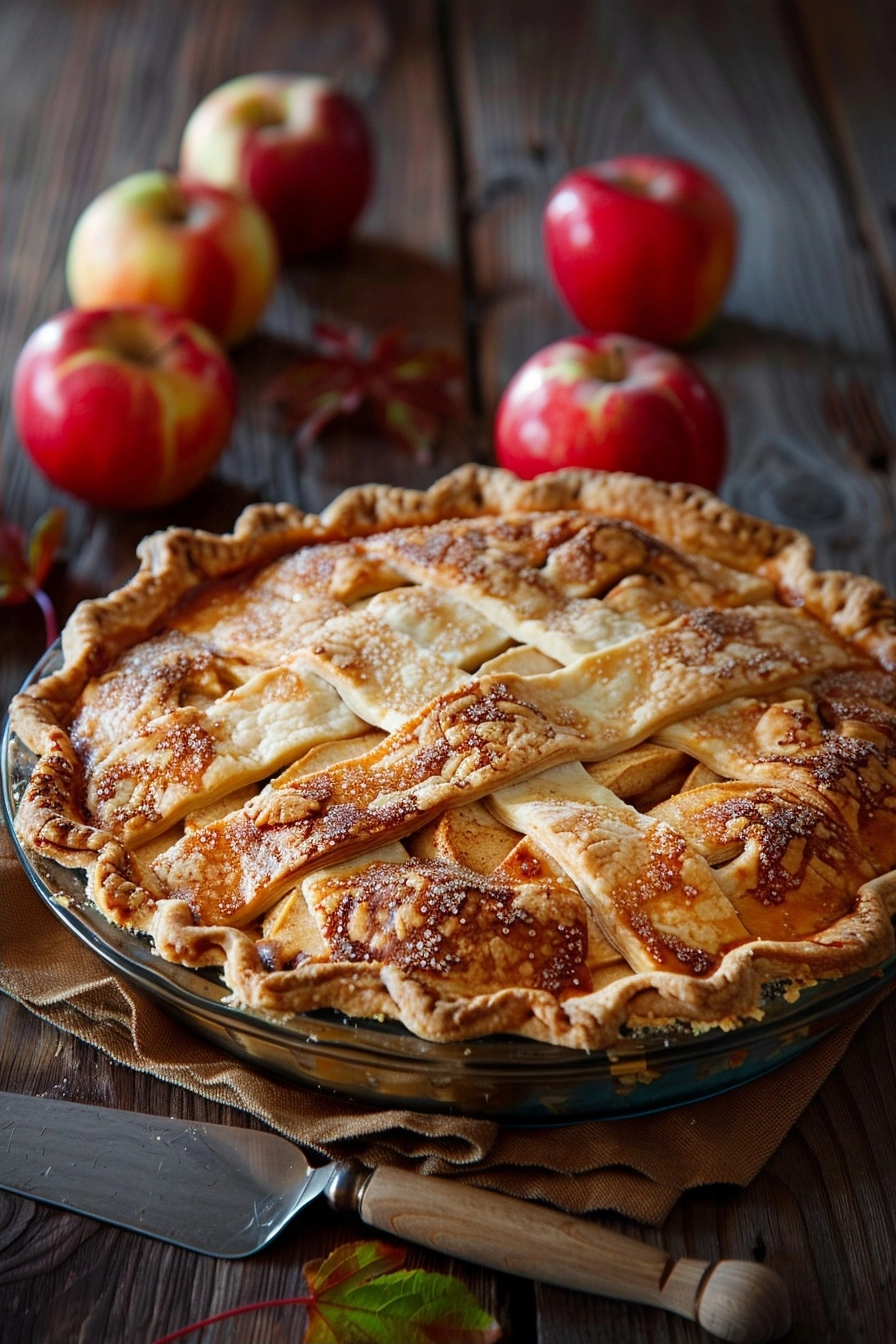
Ingredients
| Ingredient | Quantity | Notes |
|---|---|---|
| All-Purpose Flour | 2.5 cups | Keep chilled for best results |
| Unsalted Butter | 1 cup | Use cold, cubed butter |
| Granny Smith Apples | 4 cups | Tart flavor profile |
| Honeycrisp Apples | 4 cups | Sweet, crisp texture |
| Granulated Sugar | 0.75 cup | Provides sweetness |
| Cinnamon | 1.5 teaspoons | Ground spice |
| Salt | 0.5 teaspoon | Enhances flavor |
Step-by-Step Instructions
Preparing the Crust
- Combine flour and salt in a large chilled bowl.
- Cut cold butter into the flour mixture using a pastry cutter until crumbs form.
- Add ice water one tablespoon at a time until the dough holds together.
- Chill the dough disks in the refrigerator for at least one hour before rolling.
Assembling the Filling
- Peel, core, and slice the apples into uniform half-inch pieces.
- Toss apple slices with sugar, cinnamon, and a pinch of salt in a large mixing bowl.
- Let the mixture sit for twenty minutes to draw out excess moisture.
Baking the Pie
- Roll out the bottom crust and place it into a nine-inch pie plate.
- Pour the seasoned apple mixture evenly into the bottom crust.
- Cover the filling with the top crust, crimping the edges to seal securely.
- Cut small vents in the top crust to allow steam to escape during baking.
- Bake at 375 degrees Fahrenheit until the crust is golden and the filling bubbles.
Chef Tips for Perfect Results
- Keep all ingredients, including flour and butter, in the refrigerator until the exact moment you need them to maintain a flaky texture.
- Use a pie shield or aluminum foil around the edges if the crust browns too quickly before the filling is fully cooked.
- Brush the top crust with a light egg wash or heavy cream for a professional, glossy golden-brown finish.
- Place a baking sheet on the bottom rack to catch any juices that might bubble over during the process.
- Let the finished pie rest for at least three hours to allow the internal juices to set into a syrup-like consistency.
Common Mistakes to Avoid
Avoid using warm butter, as it melts into the flour rather than creating distinct layers, which results in a dense and tough crust. Never skip the resting phase for the dough because the gluten needs time to relax, preventing the crust from shrinking in the oven. Do not overfill the pie, as this leads to leakage and a soggy bottom. Finally, ensure you cut enough vents in the top crust to prevent a buildup of steam that can cause the crust to separate from the filling.
Variations and Substitutions
| Ingredient | Substitution | Impact on Flavor |
|---|---|---|
| Granulated Sugar | Brown Sugar | Adds a deeper caramel note |
| Cinnamon | Apple Pie Spice | Includes nutmeg and ginger |
| Butter | Coconut Oil | Adds a faint tropical undertone |
Serving Suggestions and Pairings
Serve your homemade apple pie warm alongside a scoop of high-quality vanilla bean ice cream to create an authentic apple pie a la mode. This dish performs exceptionally well at autumn gatherings, holiday parties, or as a comforting dessert after a Sunday roast. Pair it with freshly brewed black coffee or a spiced chai tea to complement the cinnamon notes in the filling.
Storage and Reheating
| Method | Duration | Instructions |
|---|---|---|
| Room Temp | 2 days | Cover tightly with plastic wrap |
| Refrigerator | 5 days | Keep in an airtight container |
| Freezer | 3 months | Wrap in foil and store in a bag |
Nutritional Information
| Nutrient | Amount per Serving |
|---|---|
| Calories | 410 |
| Total Fat | 18g |
| Carbohydrates | 58g |
| Protein | 3g |
| Fiber | 4g |
Values provided are approximate values.
Frequently Asked Questions
Can I substitute Granny Smith apples?
You can substitute Granny Smith apples with Braeburn or Pink Lady varieties for a similar texture. These apples provide the structural integrity required to hold their shape during high-heat baking.
How do I know when the pie is done?
The pie is done when the crust reaches a deep golden brown and the filling juices appear thick and bubbly. You will notice the apples are tender when poked with a toothpick through a vent.
Why is my crust soggy?
A soggy crust occurs when the oven temperature is too low or the filling contains excessive liquid. Always pre-heat your oven fully and consider dusting the bottom crust with a teaspoon of flour or cornstarch.
Can I assemble the pie ahead of time?
You can assemble the pie up to 24 hours before baking if you store it covered in the refrigerator. This allows the flavors to meld and saves time during busy hosting days.
Is it better to serve apple pie warm or cold?
It is better to serve apple pie warm for a soft, comforting texture, though many prefer it cold the next day for a firmer structure. Serving it warm provides the most aromatic experience for guests.
Conclusion
Creating the perfect homemade apple pie is a rewarding process that relies on simple, fresh ingredients and careful technique. By following these steps, you ensure a flaky crust and a perfectly spiced fruit filling every time. Celebrate the seasons by mastering this classic recipe that serves as a staple for any home kitchen. Embrace the comfort of this traditional dessert and enjoy the satisfaction of sharing a piece of warm, homemade excellence with your family and friends.
Print
Classic Homemade Apple Pie
- Total Time: 100
- Yield: 8 servings 1x
- Diet: Vegetarian
Description
This timeless apple pie features a perfectly flaky, buttery crust paired with a tender, spiced filling. By blending tart Granny Smith and sweet Honeycrisp apples, this recipe strikes the ideal balance between flavor and texture. Pre-cooking the fruit ensures a dense, satisfying filling that pairs beautifully with the golden, crisp pastry shell. Perfect for any gathering, this dessert is a true centerpiece.
Ingredients
2.5 cups all-purpose flour
1 cup unsalted butter, cold and cubed
4 cups Granny Smith apples, peeled and sliced
4 cups Honeycrisp apples, peeled and sliced
0.75 cup granulated sugar
1.5 teaspoons ground cinnamon
0.5 teaspoon salt
Ice water as needed
Instructions
Combine flour and salt in a large chilled bowl.
Cut cold butter into the flour mixture using a pastry cutter until coarse crumbs form.
Add ice water one tablespoon at a time until the dough just holds together.
Form into two disks, wrap, and chill in the refrigerator for at least one hour.
Peel, core, and slice apples into half-inch pieces.
Toss apples with sugar, cinnamon, and salt in a bowl and let sit for twenty minutes.
Roll out the bottom crust and place it into a nine-inch pie plate.
Fill with the apple mixture.
Roll out the second crust, place over the top, seal the edges, and cut vents.
Bake until the crust is golden brown and the filling is bubbling.
Notes
Ensure all butter and water are kept very cold to maintain the flaky layers. You can brush the top crust with a little egg wash or milk for a shiny golden finish. Store leftovers covered at room temperature for up to two days or refrigerate for up to five days.
- Prep Time: 45
- Cook Time: 55
- Category: Desserts
- Method: Baking
- Cuisine: American
Nutrition
- Serving Size: 1 slice
- Calories: 380
- Sugar: 22g
- Sodium: 160mg
- Fat: 18g
- Saturated Fat: 11g
- Carbohydrates: 52g
- Fiber: 4g
- Protein: 3g
- Cholesterol: 45mg