
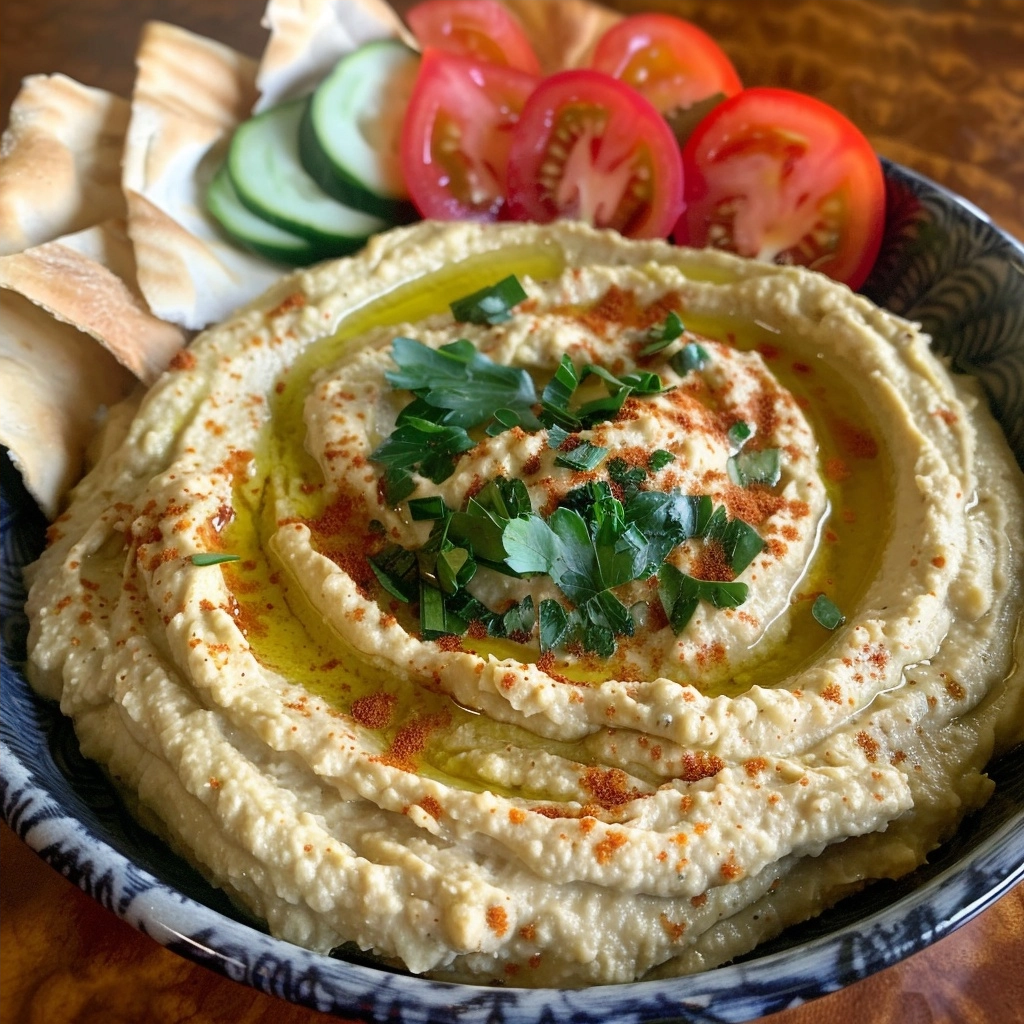
Healthy homemade hummus provides a nutrient-dense blend of chickpeas, tahini, and lemon juice designed for optimal flavor and texture. This plant-based dip offers a perfect balance of fiber and healthy fats while requiring only basic kitchen staples. You achieve restaurant-quality consistency at home by following precise blending techniques that prioritize smoothness and aeration for every batch.
Recipe Overview
| Metric | Details |
|---|---|
| Prep Time | 10 minutes |
| Cook Time | 0 minutes |
| Total Time | 10 minutes |
| Servings | 8 servings |
| Difficulty | Easy |
| Cuisine | Middle Eastern |
Why This Recipe Works
This recipe works because it relies on the proper ratio of high-quality tahini to chickpeas, ensuring a creamy base rather than a grainy paste. I spent years testing various methods, including peeling chickpeas individually, and found that using a high-powered food processor achieves the same result in significantly less time. The secret lies in emulsifying the lemon juice and tahini together before adding the chickpeas, which creates a lighter, fluffier dip.
You will experience a noticeable difference in freshness compared to store-bought varieties that often contain unwanted preservatives or artificial thickeners. Homemade chickpea dip allows you to control the acidity and salinity levels exactly to your preference. This version remains versatile enough to serve as a base for roasted garlic, spicy harissa, or fresh herbs depending on your meal plan.
Ingredients
| Ingredient | Quantity | Notes |
|---|---|---|
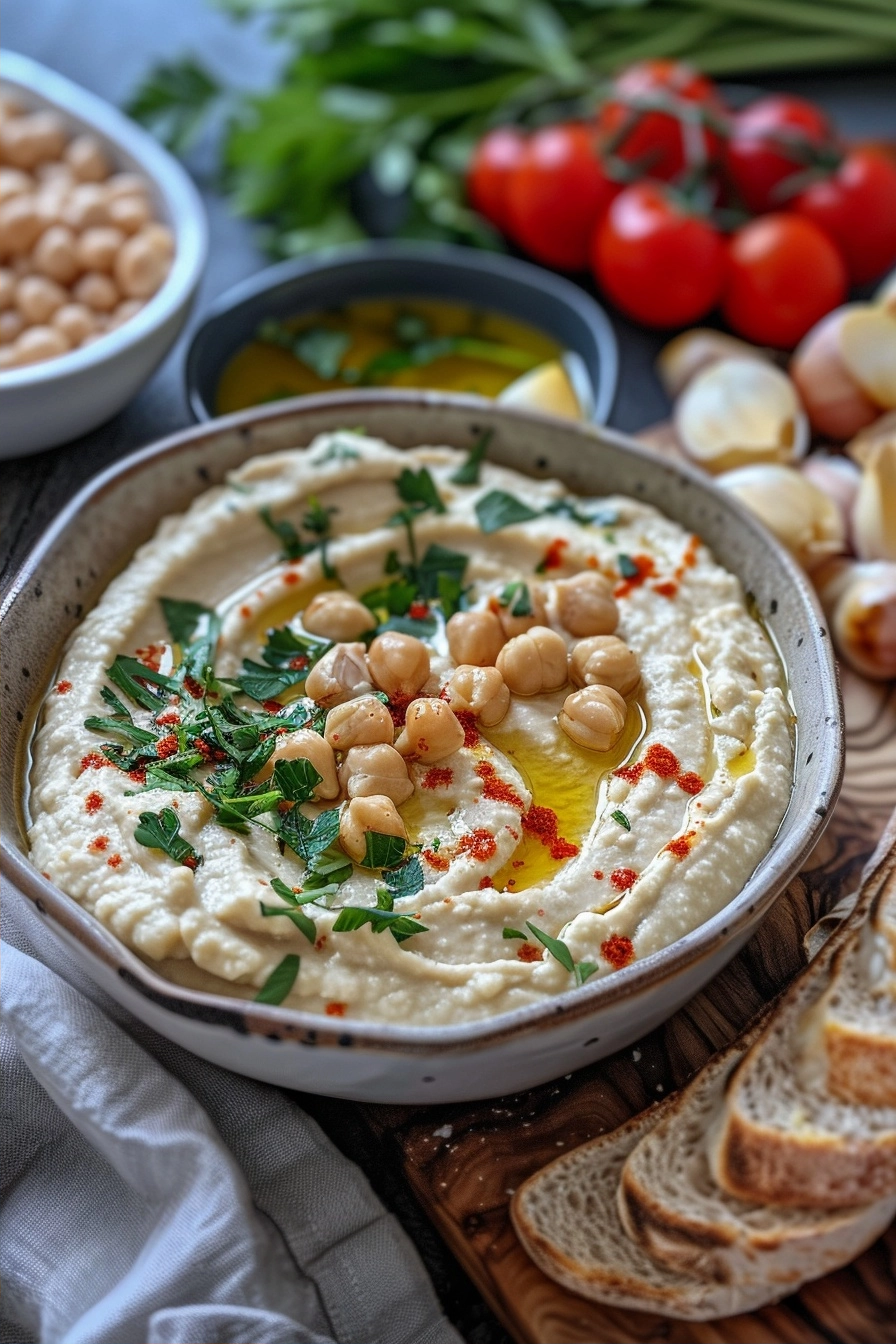
| Chickpeas | 2 cans (15oz) | Drain and rinse thoroughly. |
| Tahini | 1/2 cup | Use high-quality roasted sesame paste. |
| Lemon Juice | 1/4 cup | Freshly squeezed is mandatory. |
| Garlic | 2 cloves | Minced or crushed. |
| Olive Oil | 2 tbsp | Extra virgin variety. |
| Cumin | 1/2 tsp | Adds earthy depth. |
| Salt | 1 tsp | Adjust to taste. |
Step-by-Step Instructions
Emulsification Phase
- Combine the tahini and fresh lemon juice in a food processor.
- Process the mixture for 60 seconds until the texture looks whipped and pale.
- Scrape down the sides of the bowl to ensure uniform consistency.
Blending Phase
- Add the olive oil, minced garlic, cumin, and salt to the tahini emulsion.
- Process for another 30 seconds until the mixture is fully integrated.
- Add half of the rinsed chickpeas to the container and pulse until smooth.
- Add the remaining chickpeas and process for two full minutes until velvety.
- Incorporate two tablespoons of ice water if the mixture seems too thick or heavy.
Chef Tips for Perfect Results
- Use ice-cold water to emulsify the tahini to achieve a lighter, whiter fluffier texture.
- Always remove the chickpea skins if you have the time to guarantee an ultra-smooth silkiness.
- Toast your cumin seeds briefly in a dry pan before grinding to release essential oils.
- Season the dip gradually and taste as you go to avoid excessive salinity.
- Store the finished hummus in an airtight container to prevent a dry surface layer from forming.
Common Mistakes to Avoid
Using cold chickpeas directly from the can leads to a grainy, dense texture that refuses to emulsify. Fix this by rinsing the chickpeas and ensuring they reach room temperature before blending. Another mistake involves using low-quality tahini, which results in a bitter, astringent flavor profile. Always source premium roasted sesame paste for a nutty finish. Do not overlook the importance of fresh lemon juice, as bottled varieties lack the necessary aromatic brightness. If your hummus seems too thick, simply add more lemon juice or water to reach the desired consistency.
Variations and Substitutions
| Ingredient | Substitution | Impact on Flavor |
|---|---|---|
| Olive Oil | Avocado oil | Neutralizes the flavor profile slightly. |
| Chickpeas | Cannellini beans | Results in a creamier, milder dip. |
| Garlic | Roasted garlic | Adds a sweet and mellow depth. |
Serving Suggestions and Pairings
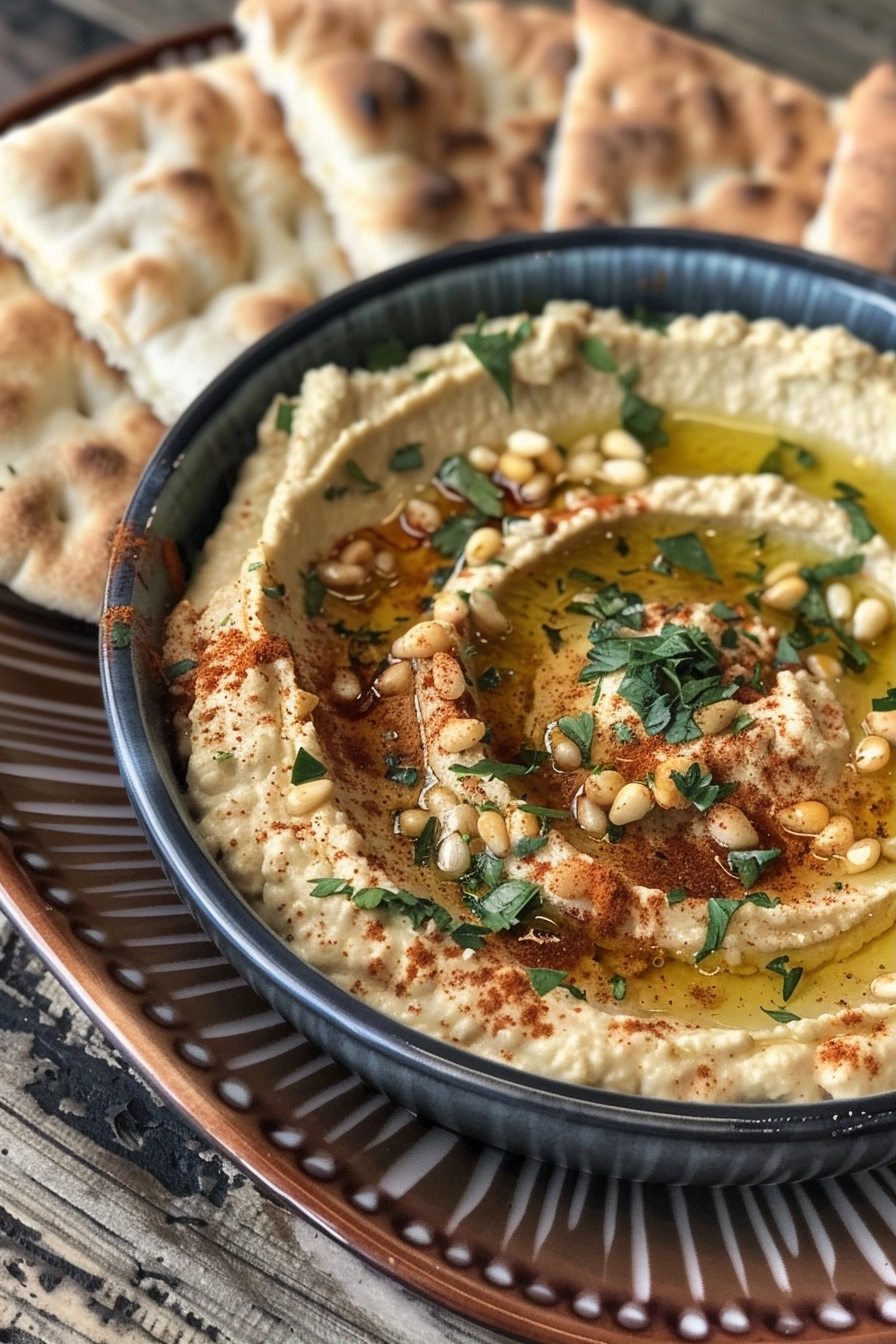
Serve this healthy dip alongside warm, pillowy pita bread for a classic presentation. It also pairs perfectly with fresh vegetable sticks like cucumbers, carrots, and bell peppers for a low-carb snacking option. Consider topping the bowl with a drizzle of olive oil, a sprinkle of paprika, and fresh parsley for a beautiful appetizers plate. For a substantial meal, add spiced ground lamb or roasted vegetables on top to transform it into a main, nutritious dinner dish.
Storage and Reheating
| Method | Duration | Instructions |
|---|---|---|
| Refrigerator | 5 days | Keep in an airtight, glass container. |
| Freezer | 3 months | Freeze in a zip-top bag to save space. |
Nutritional Information
Approximate values per serving:
| Nutrient | Amount per Serving |
|---|---|
| Calories | 185 kcal |
| Protein | 6g |
| Fat | 10g |
| Carbohydrates | 18g |
| Fiber | 5g |
Frequently Asked Questions
Can I make this recipe without a food processor?
Yes, you can use a high-powered blender to achieve similar results by pulsing frequently. Ensure you scrape the sides consistently to keep the mixture moving across the blades.
How do I fix runny hummus?
Runny hummus usually results from adding too much liquid at once. You can thicken it by adding more chickpeas or a small spoonful of additional tahini to balance the texture.
Why is my homemade hummus bitter?
Bitter hummus often occurs when using low-quality, old, or improperly stored tahini. You can counteract this bitterness by adding an extra squeeze of fresh lemon juice or a pinch of sugar.
Can I freeze leftover hummus?
Yes, you can freeze hummus in an airtight container for up to three months. Thaw it slowly in the refrigerator and whisk in a teaspoon of olive oil before serving to restore its texture.
How long does fresh hummus stay good?
Freshly made hummus stays good for up to five days when stored in an airtight, refrigerated container. Ensure it stays covered to maintain freshness and prevent dehydration.
Creating this healthy homemade hummus recipe is a straightforward process that rewards you with fresh, vibrant flavors. By focusing on high-quality ingredients and proper emulsification, you produce a staple that works as a snack, a spread, or a main course side. Incorporate this versatile dish into your weekly routine to enjoy convenient, plant-based nutrition. You will soon find that no store-bought alternative matches the satisfaction of a bowl prepared exactly to your taste. Embrace the simple joy of blending authentic, Mediterranean-inspired ingredients into a creamy, nutrient-packed dip today.
Print
Healthy Homemade Hummus
- Total Time: 10
- Yield: 8 servings 1x
- Diet: Vegan
Description
Achieve restaurant-quality hummus at home with this simple, nutrient-dense recipe. By emulsifying the tahini and lemon juice before adding the chickpeas, you create a whipped, light, and airy texture that is far superior to store-bought versions. This plant-based dip is filled with healthy fats and fiber, providing a versatile base that can be customized with garlic, herbs, or spices. It is a perfect, refreshing snack or appetizer requiring only basic staples for maximum flavor.
Ingredients
2 cans (15oz) Chickpeas, drained and rinsed
1/2 cup high-quality Tahini
1/4 cup freshly squeezed Lemon Juice
2 cloves Garlic, minced
2 tbsp Extra virgin Olive Oil
1/2 tsp Cumin
1 tsp Salt
Instructions
Combine the tahini and fresh lemon juice in a food processor.
Process for 60 seconds until the mixture looks whipped and pale.
Scrape down the sides of the bowl.
Add the olive oil, minced garlic, cumin, and salt to the tahini emulsion.
Process for another 30 seconds until fully integrated.
Add half of the rinsed chickpeas and pulse until smooth.
Add the remaining chickpeas and process until reaching desired consistency.
Notes
For even smoother hummus, consider peeling the chickpeas. You can personalize this base with roasted garlic, harissa, or fresh herbs.
- Prep Time: 10
- Category: Summer Desserts
- Method: Blending
- Cuisine: Middle Eastern
Nutrition
- Serving Size: 2 tbsp
- Calories: 120
- Sugar: 0g
- Sodium: 250mg
- Fat: 7g
- Saturated Fat: 1g
- Carbohydrates: 10g
- Fiber: 3g
- Protein: 4g
- Cholesterol: 0mg